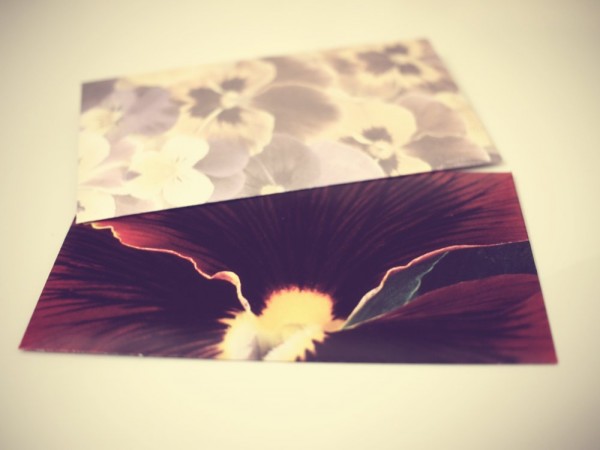
I participated in a “repurposed letterset” swap on Swap-bot. You take something like an atlas, calendar, magazine pages, or an old book to create a handmade letterset.
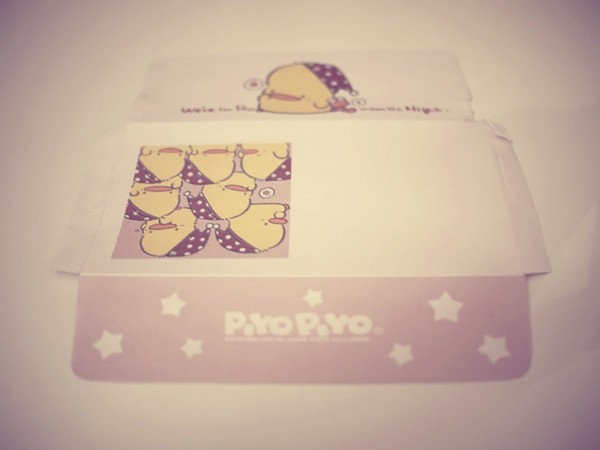
I took one of my envelopes that I really like the design of and tore it apart to use as a template.
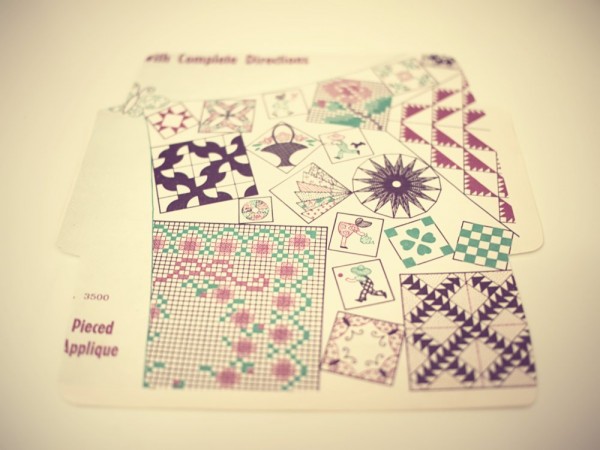
Then I chose these thrifted quilting books, since well, I will never quilt, haha! I used the covers as the envelopes.
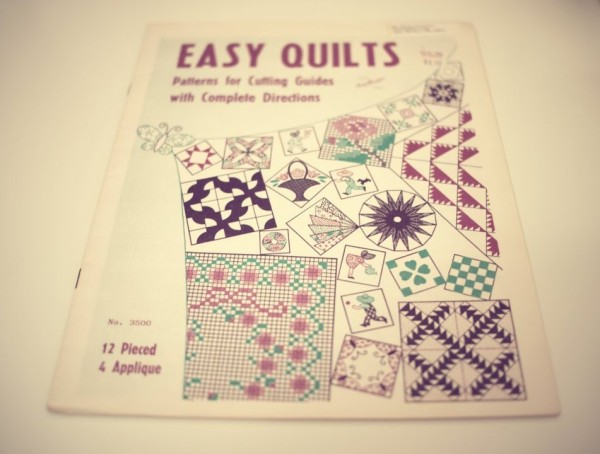
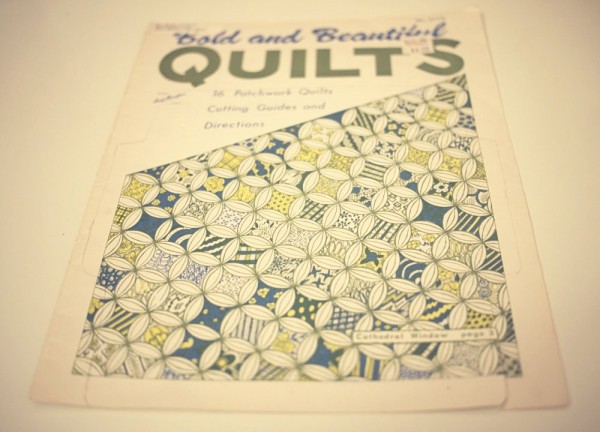
Then I traced the template and cut it out.
Hopefully, knowing where to fold is straight forward.
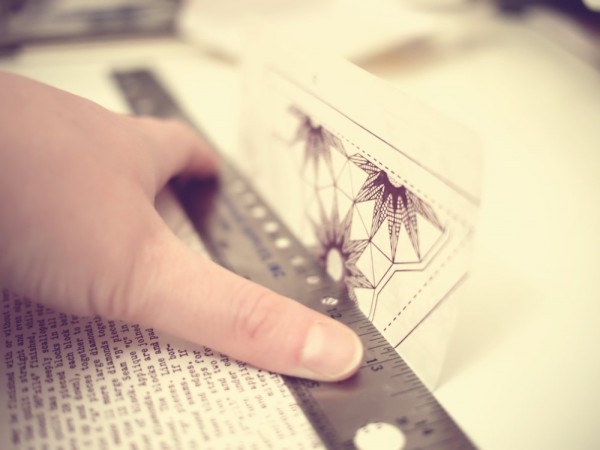
Tip: Line up a ruler to each edge and then fold it across the ruler. Don’t put the ruler right over where you need to fold though, put it down just a bit, so it looks like you’re going to overshoot the fold. It will make your corners line up much better.
Obviously, a bone folder would work perfectly if I owned one.
Then glue it. I like to glue the bottom on top of the sides – I think it looks nicer than the left/right side being on top, but it’s up to you.
Tip: You can get what’s called glue runner or tape runner at craft stores and it works very well for this.
Finally, I took two random pages from the book, ones that had the most blank spots on them, to use as the pages to write on.
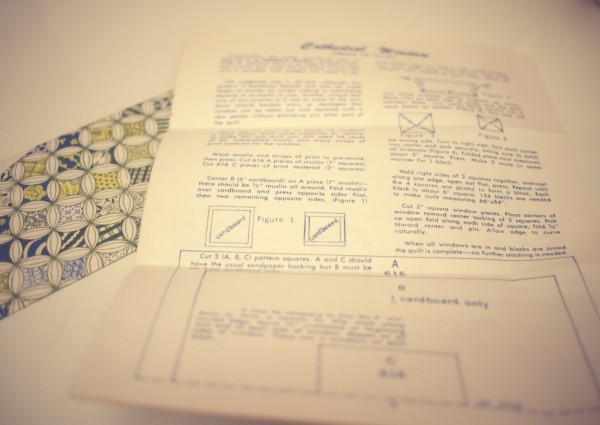
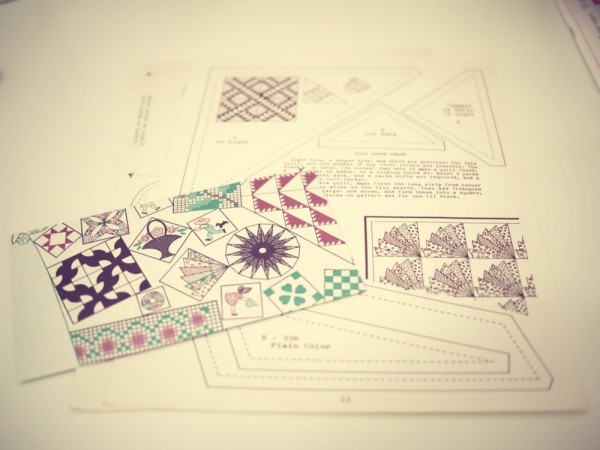
Final letter set!
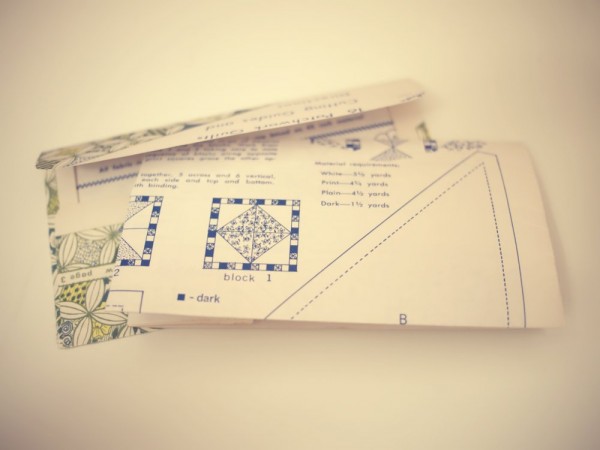
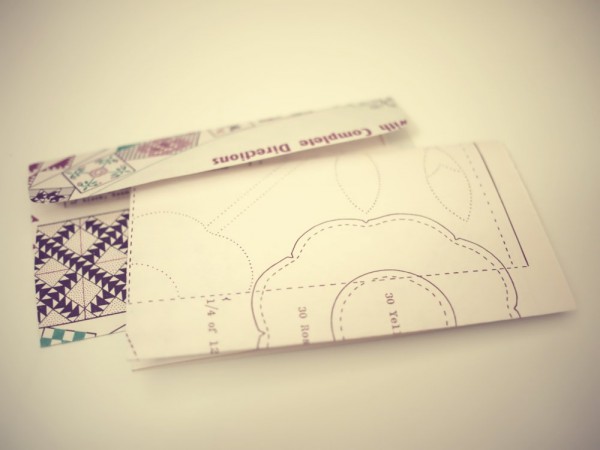
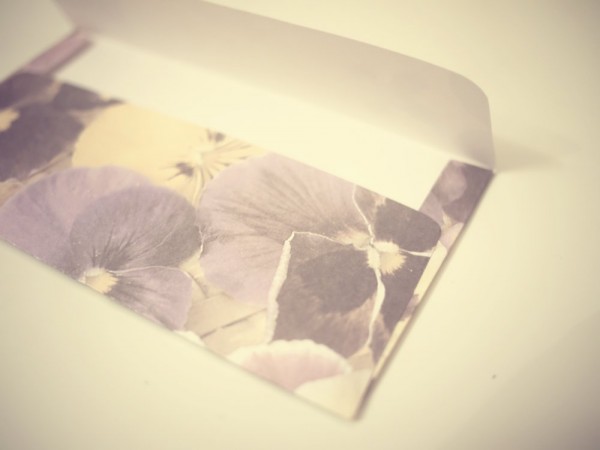
A few other envelopes I’ve made!
If you’ve made it this far through my torturous awesome first tutorial, I made up an envelope template for you to download, so it will be easier for you to make your own envelopes. You can print it and either trace it on other paper or just use it for your envelope.

